Table of Contents
- Budget Tech for Creators: What Actually Matters in 2026
- Quick Comparison: Essential Gear Categories
- Best Budget Microphones for Podcasting and Video
- Best Wireless Headphones Under 200 Dollars
- How to Start Content Creation on a Budget
- Lighting, Storage, and Stability: The Overlooked Essentials
- Which Setup Should You Build First?
- Conclusion
Last Updated: August 19, 2026
Budget Tech for Creators: What Actually Matters in 2026
Building a creator setup doesn’t require emptying your bank account. The best budget tech for creators has fundamentally changed since 2024. What used to mean "cheap and unreliable" now means "strategically selected tools that deliver professional results without the premium price tag."
At Greenmatrax.com, we’ve tracked how creators are actually building their workflows in 2026. The pattern is clear: they’re not buying fewer tools, they’re buying smarter. A creator with a 200-dollar budget can now produce content that competes with setups costing five times as much, provided they prioritize the right gear first.
The real advantage isn’t finding the cheapest option. It’s understanding which tools move the needle for your specific workflow and which ones you can skip entirely. Most creators waste money on gear that looks professional but doesn’t improve their actual output. This guide shows you where to spend and where to hold back.
Quick Comparison: Essential Gear Categories
Before diving into specific products, here’s what matters most for different creator types. The right entry point depends on your primary content format.
| Gear Category | Best Budget Option | Typical Investment | Impact on Quality |
|---|---|---|---|
| Audio Capture | Rode Wireless Micro | Around $100 | Transforms video credibility |
| Lighting | Neewer 660 LED 2-Pack | $90-$110 | Essential for watchability |
| Storage | WD Elements Portable 2TB | Around $131 | Prevents data loss disasters |
| Camera | Anker PowerConf C200 | Around $60 | Massive upgrade from phone camera |
| Stabilization | Joby GorillaPod 5K | Around $170 | Enables creative angles |
| Audio Monitoring | Sony MDR-7506 | Around $99 | Catches problems before publishing |
| Video Editing | DaVinci Resolve (Free) | Free | Professional-grade without cost |
The pattern here matters: the cheapest gear category (camera at $60) isn’t where most creators struggle. Audio and lighting are where budget tech for creators makes the biggest difference in perceived quality.
Best Budget Microphones for Podcasting and Video
Clear audio separates amateur content from professional work faster than anything else. A viewer will tolerate mediocre video. They won’t tolerate audio that’s hard to understand.
Rode Wireless Micro solves the portability problem that kills most budget setups. At approximately $100, this wireless system delivers focused audio without the cable management nightmare of traditional lavalier mics. The transmitter clips to your shirt, the receiver plugs into your camera or phone, and pairing happens automatically. You get omnidirectional capture that actually sounds like someone spoke directly into a microphone, not like you’re recording from across the room.
Where it falls short: range caps around 100 feet in open space, and there’s no companion app for adjusting levels on the fly. For solo creators recording talking-head content or vlogs, these limitations barely matter. You’re not moving far from your camera anyway.
Wireless systems at this price point often lose signal if you move between rooms. The Wireless Micro stays connected as long as you stay in visual range of the receiver, test your specific space before relying on it for live streams.
Sony MDR-7506 takes a different approach. These aren’t for recording your voice. They’re for monitoring what you’re actually capturing. At around $99, you get closed-back studio headphones with a flat frequency response that reveals problems other headphones hide. Tinny audio, background hum, wind noise, you’ll hear all of it before you export. That means fewer takes, fewer re-recordings, and faster turnaround.
The tradeoff is obvious: they’re wired, they’re not wireless, and they’re uncomfortable for extended wear. But for editing sessions and monitoring during recording, they’re the budget standard in professional audio work.
Best Wireless Headphones Under 200 Dollars
This supporting keyword matters because most creators need both monitoring headphones AND comfortable listening headphones. The Sony MDR-7506 handles monitoring. For everything else, editing, listening to reference tracks, casual use, you need something that doesn’t leave your ears sore after two hours.
Budget wireless headphones have improved dramatically. The key is matching the right model to your actual use case. Phone call quality, battery life, and noise isolation vary wildly at this price point, and the "best" option depends on whether you’re editing for six hours straight or hopping between meetings.
Comfort matters more than most creators admit. A $150 headphone you’ll actually wear beats a $200 option that gives you a headache. Look for models with adjustable headbands, memory foam ear cups, and reasonable weight distribution. Test them in person if possible, online reviews of comfort are nearly useless because ear shapes vary so much.
Active noise cancellation under $200 typically means mediocre isolation that drains battery faster. Passive isolation (physical seal) often delivers better results at this price tier. If you’re editing in a home office with background noise, passive isolation with good seal matters more than ANC.
How to Start Content Creation on a Budget
The biggest mistake new creators make is buying everything at once. You don’t need a complete studio to start. You need one thing that works reliably, then add based on what actually slows you down.
Start with audio. Seriously. A creator with a $60 camera and a $100 microphone will outproduce someone with a $500 camera and built-in audio. Audiences forgive bad video. They don’t forgive bad sound.
Here’s the realistic progression for someone starting from zero:
Month 1: Audio Foundation, Invest in the Rode Wireless Micro. This single purchase eliminates the biggest quality problem in beginner content. You can record on your phone, your laptop camera, or a borrowed DSLR. The audio will be dramatically better than what you’d get from any built-in microphone.
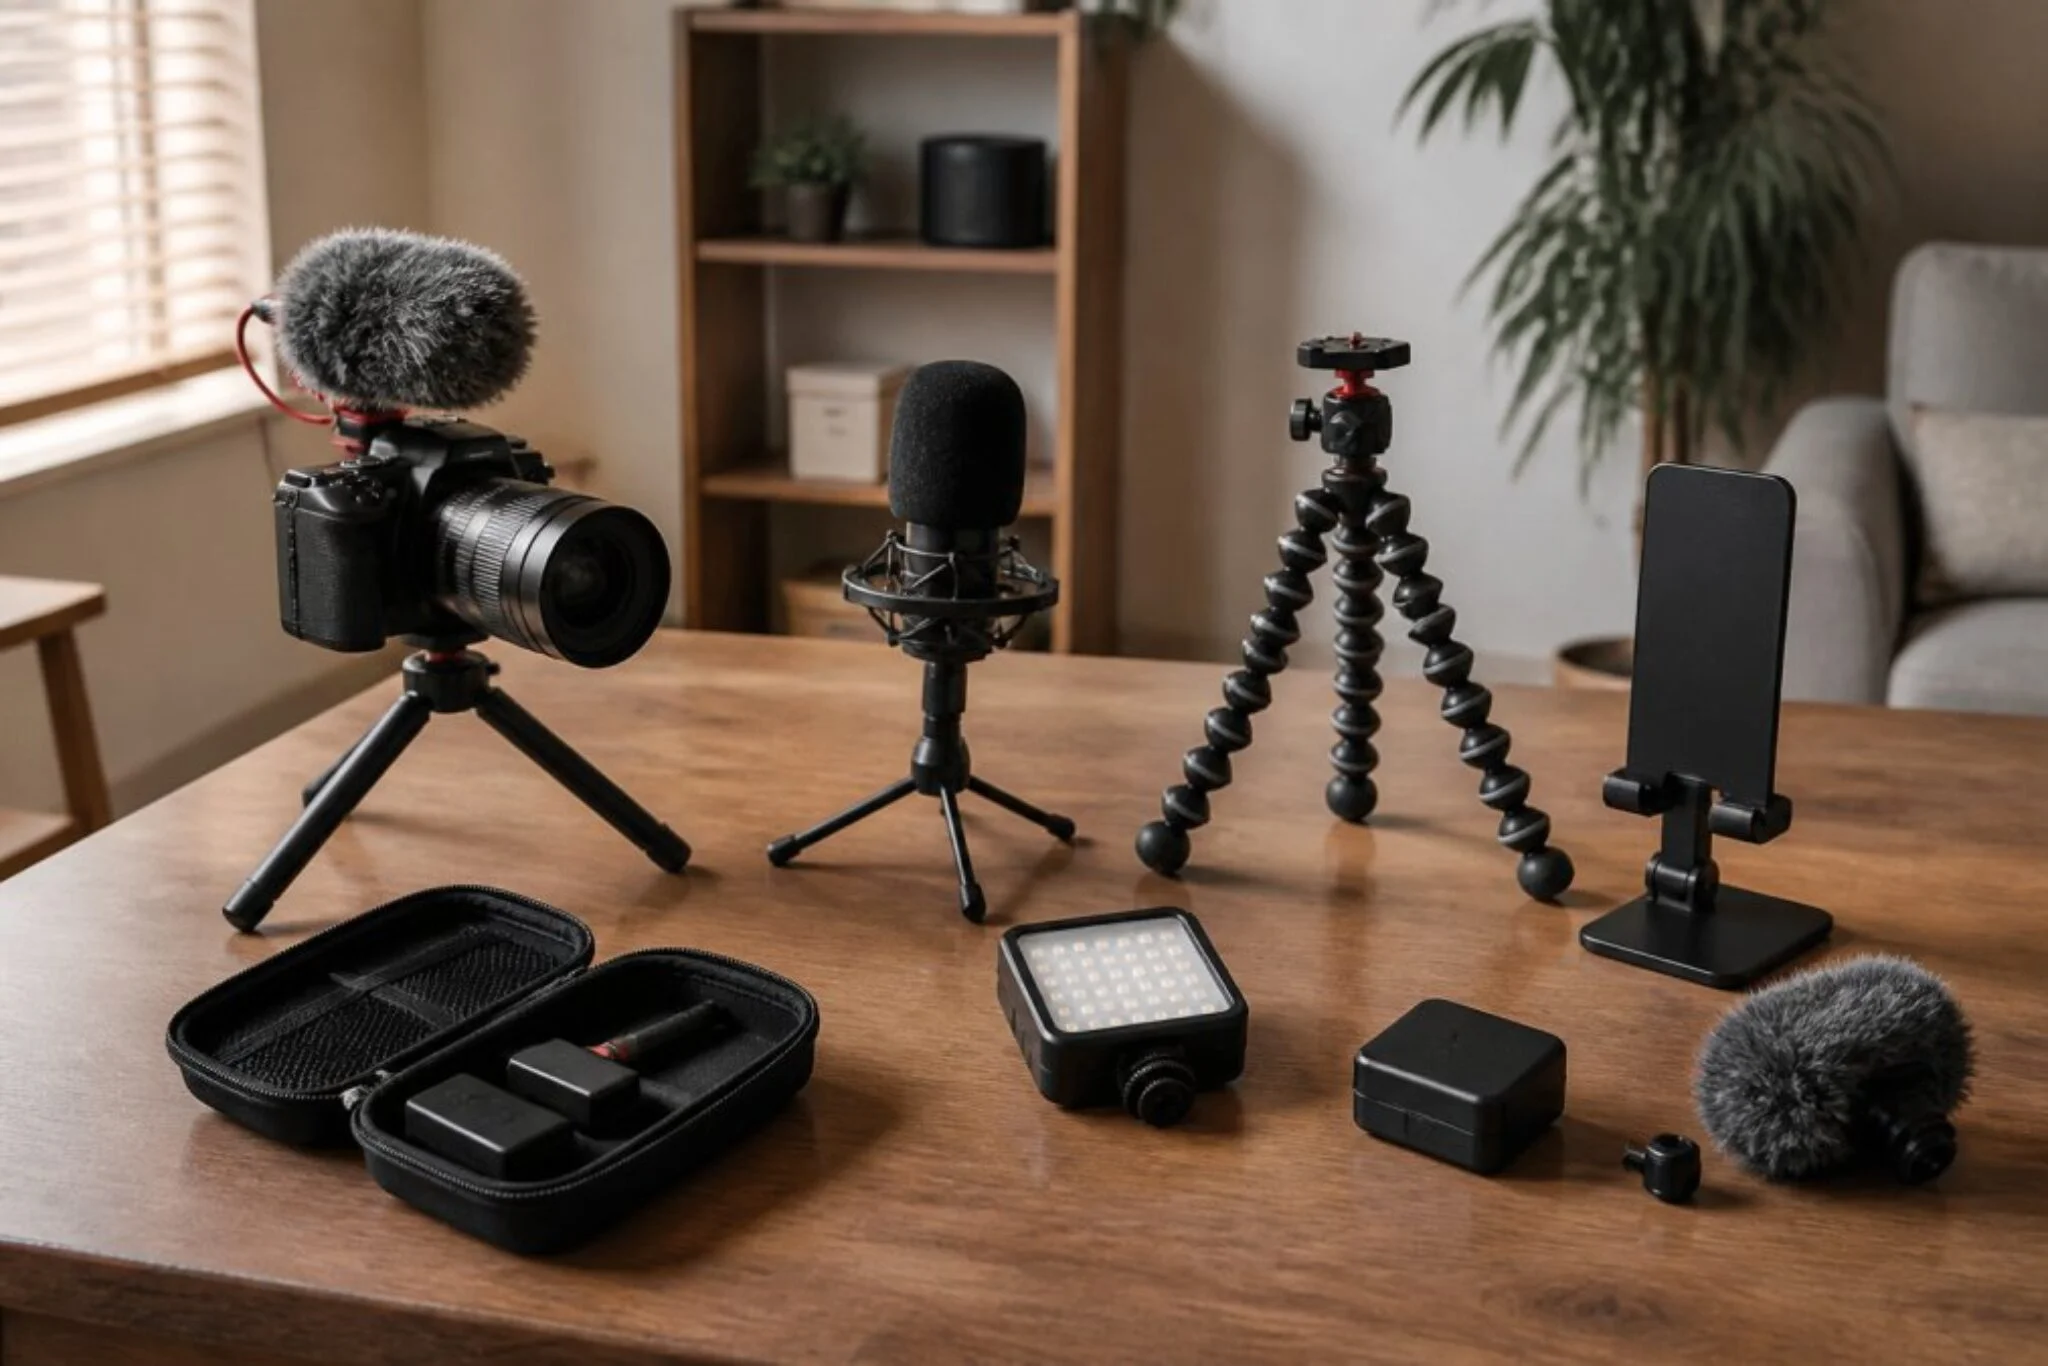
Month 2: Stabilization, The Joby GorillaPod 5K Kit ($170 range) gives you creative angles that a tripod can’t. You can wrap the legs around doorframes, desks, or anything else. This flexibility means you’re not locked into one camera position. Your content immediately looks less static.
Month 3: Lighting, The Neewer 660 LED 2-Pack ($90-$110) eliminates the "recorded in a basement" look. Two adjustable lights give you directional control. You can create depth, reduce shadows, and make your face actually visible. This is the month your content stops looking like a hobby project.
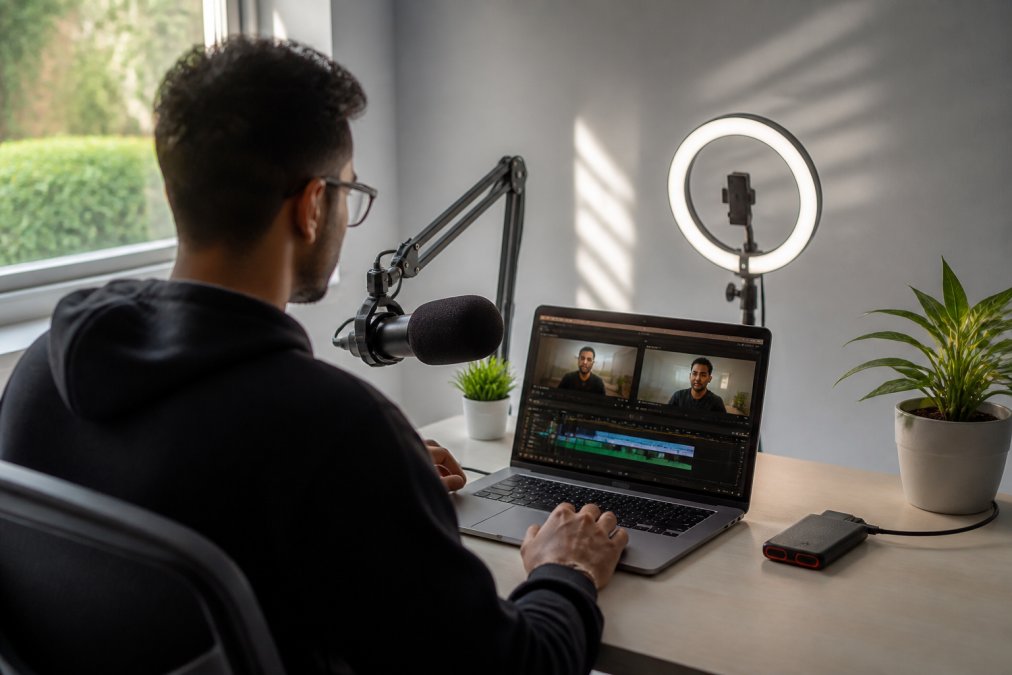
Month 4: Storage, The WD Elements Portable 2TB ($131 range) becomes non-negotiable once you’re shooting regularly. Video files are massive. One hour of 4K footage can consume 100GB. An external drive gives you backup protection and portability. This is insurance, not optional.
Months 5+: Editing Software, DaVinci Resolve’s free version is where you should start. It’s genuinely professional-grade software. You’re not paying anything. The learning curve is steep, but the capability is real. Only upgrade to paid editing software if you hit specific limitations in the free version, most creators never do.
The total investment across five months: roughly $500. That’s less than a single high-end microphone from five years ago. More importantly, you’re building based on actual needs, not theoretical ones.
Don’t buy everything at once hoping it’ll motivate you. Most creators who buy a complete setup in week one use it for three weeks then stop. Start small, add when you feel the constraint, and build gradually. The creators who succeed are the ones who actually use their gear, not the ones with the most impressive equipment list.
Lighting, Storage, and Stability: The Overlooked Essentials
Three categories get consistently underestimated in budget setups: lighting, storage solutions, and stabilization gear. They’re not glamorous. They don’t feel like "real" creator equipment. But they’re where the actual workflow improvement happens.
Lighting is the fastest way to look professional. The Neewer 660 LED 2-Pack delivers bi-color temperature adjustment from 3200K to 5600K. That means you can match whatever ambient light exists in your space, or create light that looks intentional rather than accidental. The 660 LED count per light is enough for talking-head content, product shots, and most interview setups. It’s not enough for large product photography or full-room illumination, but for a creator starting out, it’s exactly right.
The two-pack matters because three-point lighting (key light, fill light, back light) is the professional standard. With one light, you get shadows that look harsh. With two, you can eliminate unflattering shadows and add dimension. The stands are lightweight enough to move around, and the diffusers soften the light so it doesn’t look like you’re being interrogated.
Storage is where creators panic. Video files consume space fast. A 4K camera recording for an hour generates 100GB or more. If you’re shooting multiple takes, multiple angles, or working with 8K footage, you’ll burn through storage in days. The WD Elements Portable 2TB is the budget standard because it’s reliable, portable, and affordable. Two terabytes holds roughly 20 hours of 4K video. That’s enough to work on a project without constantly deleting footage.
The real issue isn’t the drive itself, it’s having a backup strategy. Never work directly off your external drive. Copy files to your working drive, edit there, then archive to external storage. This prevents the single-point-of-failure scenario where a drive failure means losing everything.
Stabilization changes what you can shoot. A traditional tripod locks you into one angle. The Joby GorillaPod 5K Kit ($170 range) wraps around anything: doorframes, desk edges, microphone booms, even tree branches if you’re shooting outdoors. The flexible legs mean you can position the camera at angles that would require expensive rigs with a traditional tripod. This versatility is why it’s worth the premium over a cheap tripod.
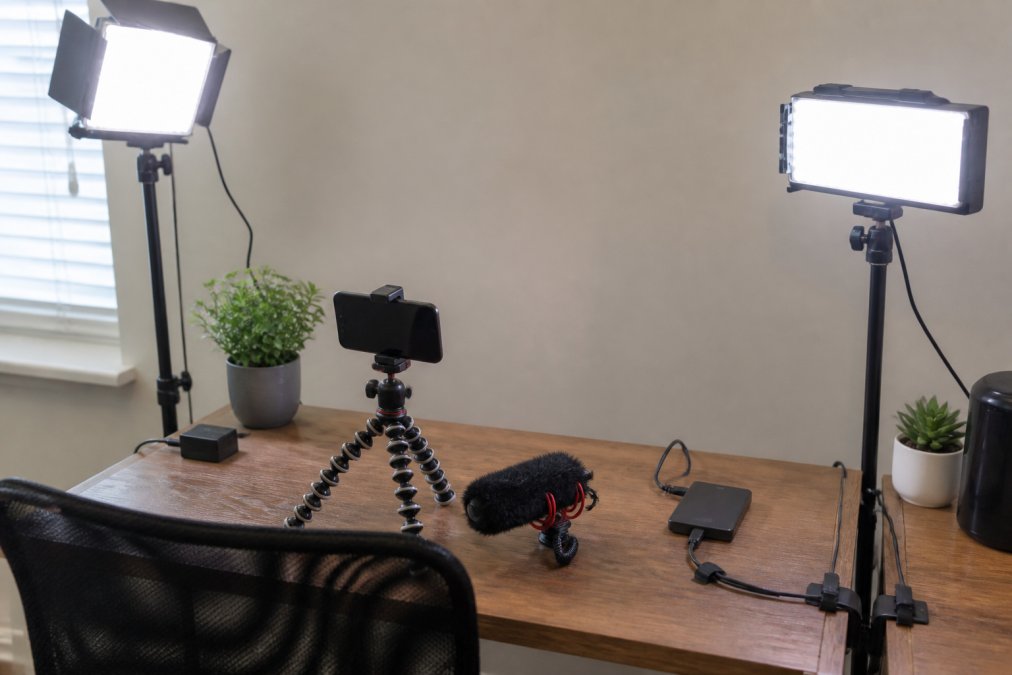
The ball head supports up to 11 pounds, which covers phones, mirrorless cameras, and most compact video cameras. If you’re shooting with a full-size DSLR and heavy lenses, you’ll outgrow it. But for creators starting with phone or mirrorless, it’s solid.
Which Setup Should You Build First?
Your starting point depends on what you’re actually creating. A podcaster’s budget tech for creators looks completely different from a YouTuber’s setup.
If you’re recording audio-primary content (podcast, audiobook, voice-over work): Start with the Rode Wireless Micro and the Sony MDR-7506. You need capture that sounds professional and monitoring that reveals problems. A $200 investment in audio tools beats a $2,000 investment in a fancy microphone if you’re not monitoring what you’re actually recording.
If you’re creating video content (YouTube, TikTok, Instagram Reels): Prioritize in this order: audio (Rode Wireless Micro), lighting (Neewer 2-Pack), stabilization (GorillaPod), then storage (WD Elements). Your phone’s camera is probably fine for starting. Your phone’s microphone is not. Lighting transforms watchability faster than any camera upgrade. Stabilization makes you look intentional rather than shaky.
If you’re doing product photography or e-commerce: The priority flips. Lighting becomes first because product visibility is everything. The Neewer 2-Pack gives you directional control that makes products look intentional rather than accidental. Then storage, then stabilization for creative angles.
If you’re editing video: DaVinci Resolve (free) should be your starting software. It’s genuinely professional-grade. The learning curve is steep, but the capability is real. Only move to paid software if you hit specific limitations, most creators never do. Pair it with the Sony MDR-7506 for monitoring your edits.
The common thread: don’t buy based on what looks impressive. Buy based on what actually constrains your workflow. A creator recording on a phone with a $100 wireless mic will outproduce someone with a $3,000 camera and built-in audio every single time.
Conclusion
Building budget tech for creators in 2026 means understanding that professional results don’t require professional prices. The Rode Wireless Micro, Neewer LED lights, and WD Elements storage solve the real problems that slow creators down. DaVinci Resolve handles post-production without cost. The Joby GorillaPod enables creative angles that would require expensive rigs five years ago.
Greenmatrax.com helps you cut through the noise by curating tools that actually deliver value. Rather than sorting through endless product listings, you get carefully reviewed selections that balance performance with price. Our platform aggregates daily deals and verified recommendations so you’re not overpaying for gear that doesn’t move the needle.
Start with one tool that solves your biggest constraint. Add based on what you actually need. Build gradually. The creators winning in 2026 aren’t the ones with the most expensive equipment, they’re the ones who understood their workflow and invested strategically. Visit Greenmatrax.com to discover budget tech for creators that’s been vetted for real-world performance.
Frequently Asked Questions
What budget tech for creators should I buy first?
Start with audio and a camera upgrade. Most viewers forgive lower video quality but not poor sound. A budget microphone like the Rode Wireless Micro ($100) paired with a basic webcam (around $60) delivers immediate impact. Add lighting next, the Neewer 660 LED 2-pack ($90-$110) transforms your video quality without studio costs. These three essentials form the foundation of any creator workflow.
How do I build a creator setup without spending thousands?
Layer your purchases strategically. Month one: microphone and webcam ($160 total). Month two: lighting ($100). Month three: storage and tripod ($300). This phased approach spreads costs and lets you identify what actually improves your content before upgrading further. Free software like DaVinci Resolve eliminates editing costs entirely. Most creators underestimate how much a $100 microphone improves perceived professionalism compared to built-in options.
What's the difference between budget and mid-range creator tech?
Budget tech prioritizes single-task performance, a budget microphone captures voice clearly but lacks advanced features. Mid-range adds versatility: multiple connectivity options, better build quality, and ecosystem integration. For creators starting out, budget gear handles 80% of needs at 20% of the cost. Upgrade when you hit specific limitations, not because you feel like you should.
This article was written using GrandRanker